


Most partners want their brides to look stunning – a more beautiful version of themselves – but not completely different, after all they should be able to recognise who they’re marrying. So, keep your wedding make-up similar to your everyday style, but with an added touch of glamour.
PREP FACE WELL
Take your time as this will form the base of your entire look. Get the perfect complexion with the following essentials.
• A mattifying primer will help reduce excess shine and an illuminating one will give your make-up a radiant base.
• Cover up any blemishes and dark circles with foundation and a matte concealer.
• Choose the right foundation for your skin type – go easy with matte formulas, so skin doesn’t look over-dry.
• Most weddings are a day-time affair – wear blush on the apples of your cheek.
• Stay far away from make-up that has SPF or white setting powders, to avoid that ghostly glow in your photos.
• Apply bronzer in the shape of a ‘3’. Start with the forehead, then the cheekbones and lastly the jawbone.
APPLY EYE SHADOWS
Before you start, use an eye primer. You can even use a concealer to brighten the eyes. A neutral cream eye shadow will correct any discolouration and help in smoother application of additional layers. Build it up, start with a light hue all over the lid and a medium shade at the crease. Add more at the corners as you go along for extra oomph.
 USE AN EYELINER
For a bright-eyed-and-bushy-tailed effect, apply eyeliner on both top and bottom lids. On the bottom, use brown as it’s the most natural, but you can also use grey or black to bring out the colour of your eyes. For the top, trace the natural shape of your lids with a liquid eyeliner and add an upward slant towards the end to open up your eyes.
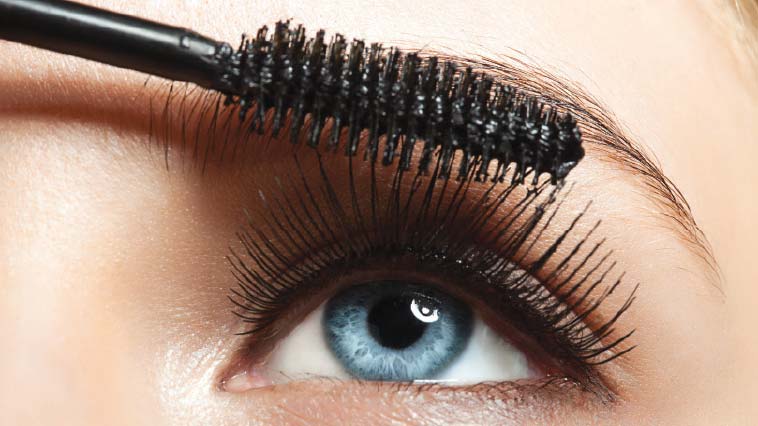
GET BAT-WORTHY LASHES
You have two options – use fake or go natural. If you’ve never used false eyelashes (or practised enough to master the art), then your wedding day isn’t the time to start. You can still add drama to your eyes by using two mascaras, one for volumising and the other for lengthening. Start from the base of the lashes outwards and shake the wand from side to side to avoid clumping. Most importantly, don’t forget to curl your lashes before applying mascara.
 TOUCH UP YOUR EYEBROWS
They frame your face. Go a tad darker than usual, especially if you have light brows, so they show up in pictures. Pencil them using short strokes to fill up any sparse areas. To accentuate the arch, follow the natural shape and ensure the tail end is the same length as your eyes. Apply pressed powder using an angle brush and blend with a spoolie brush.
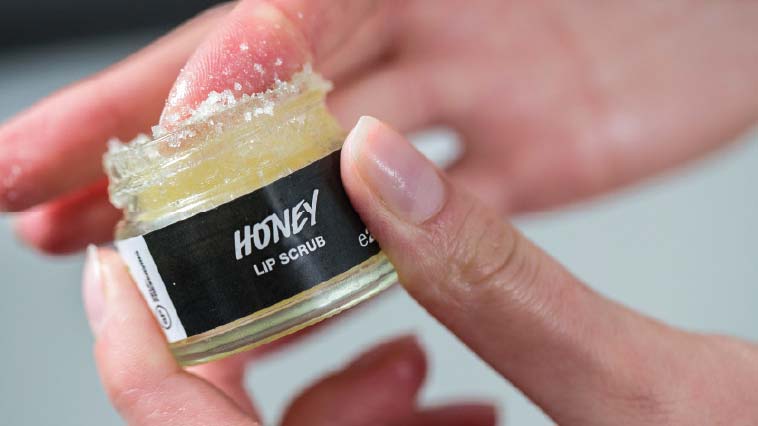
THE PERFECT POUT
Prep your lips using a lip scrub to remove any dry skin, a primer to create a base to show the true colour of your lipstick, and a lip liner to define your pout. DON’T smack your lips after application. Instead, put a finger in your mouth and pull it out, this will allow any excess lipstick to transfer on your finger rather than your teeth.
FINISH THE LOOK
Apply a light-reflecting setting powder all over – the camera loves it! Choose a fine powder and do some test photos beforehand.
Remember, you’re doing make-up that will be photographed, so wear a little more than usual without going overboard.


